
Documentation - glideFares Travel Platform
Everything About Setting Up WordPress Travel Plugin Installation
Home » Documentations » WordPress Travel Plugin » Setup & Installation
Step-by-Step Guide For You to add Travel Booking feature in your WordPress website
Want to add a travel booking feature to your WordPress website? Just follow these steps below. Connect safe payment methods like PayPal, Stripe etc. Make it look nice to match your site and test everything to make sure it works.
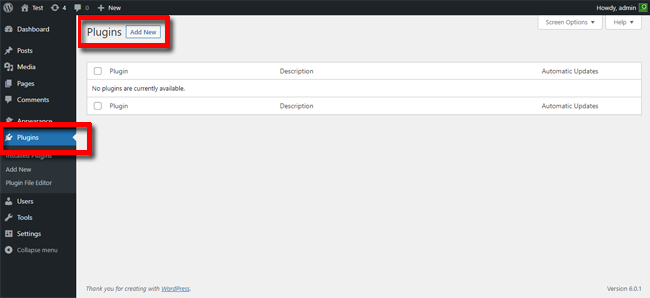
1. Login to your WordPress admin. Navigate to "Plugins" -> "Add New"
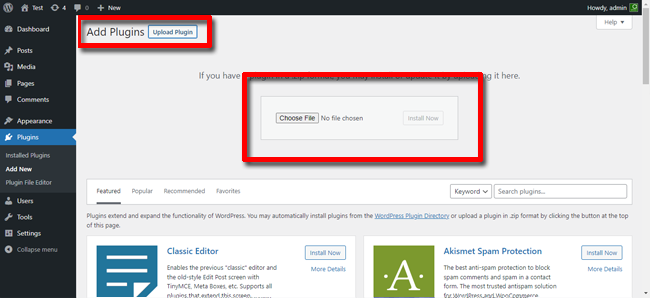
2. Click "Upload Plugin" -> upload "glideFares" plugin.
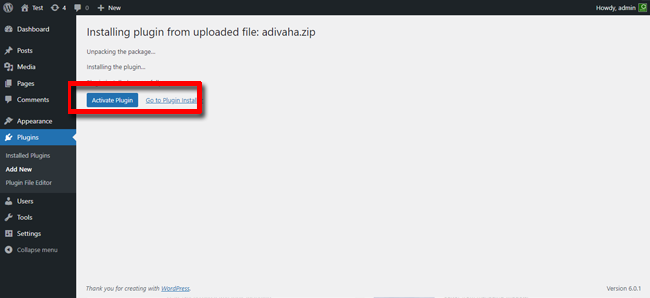
3. Click "Activate Plugin"
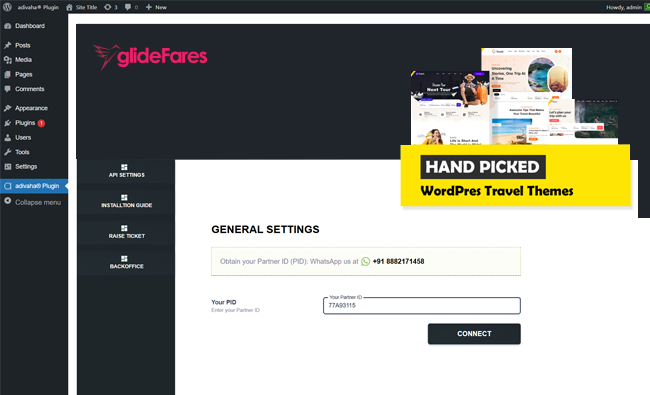
4. Click "glideFares Plugin" -> Enter your "(PID) Partner ID" and click "Connect"
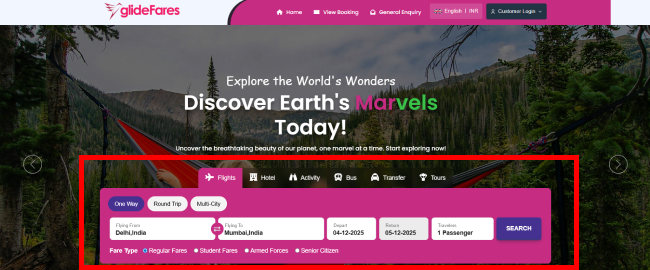
5. Use [glideFares_searchBox] shortcode to place the searchbox in the home page.
You should now be all set with the integration. WhatsApp Support : +91 8076059737 Availability: 11 AM - 5 PM (IST).